Set up email on a Windows Phone with Office 365
To access your email, calendar, and contacts using your work or school account add your work or school account to the mail app on your Windows Phone.
Set up email for your work or school account on a Windows Phone
- In the App list, tap Settings > email+account > add an account. Select the account type. For example, Outlook.
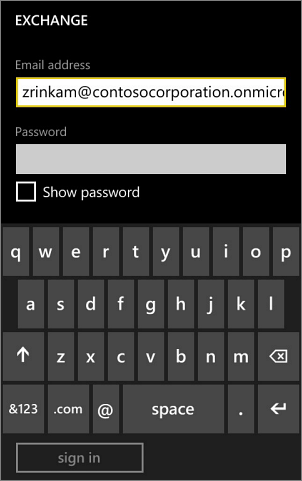
- Type your work or school account, for example tony@contoso.com, and your password. Tap Sign in. When the account is set up, tap Done.

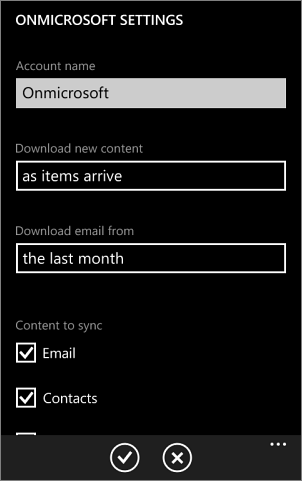
- On the email+account screen, tap your account to open it. From the account settings, you can:
- Rename the account
- Set how much content to download
- Make sure check boxes for content—for example, email, contacts, calendar, and tasks—you want to sync are selected.

- Tap Done when you’re finished.
Set up a POP or IMAP email on a Windows Phone
- NOTE If you are setting up a POP account, only your email will sync to your device. All your calendar and contacts remain stored on your local computer.In the App list, tap Settings > email+account > add an account > other account.
- Windows Phone will try to set up your email automatically, but if it can’t, make sure your username and password are correct, then select Try again.If it still cannot connect, select Advanced > Internet email.
- In Account type, select POP or IMAP and enter your incoming and outgoing server names. Type in the full name of the server for your email provider. If you’re connecting to an Office 365 for business Exchange-based email account, these are the settings:
- Select Advanced and select the boxes Require SSL for incoming mail and Require SSL for outgoing mail, then select sign in.

